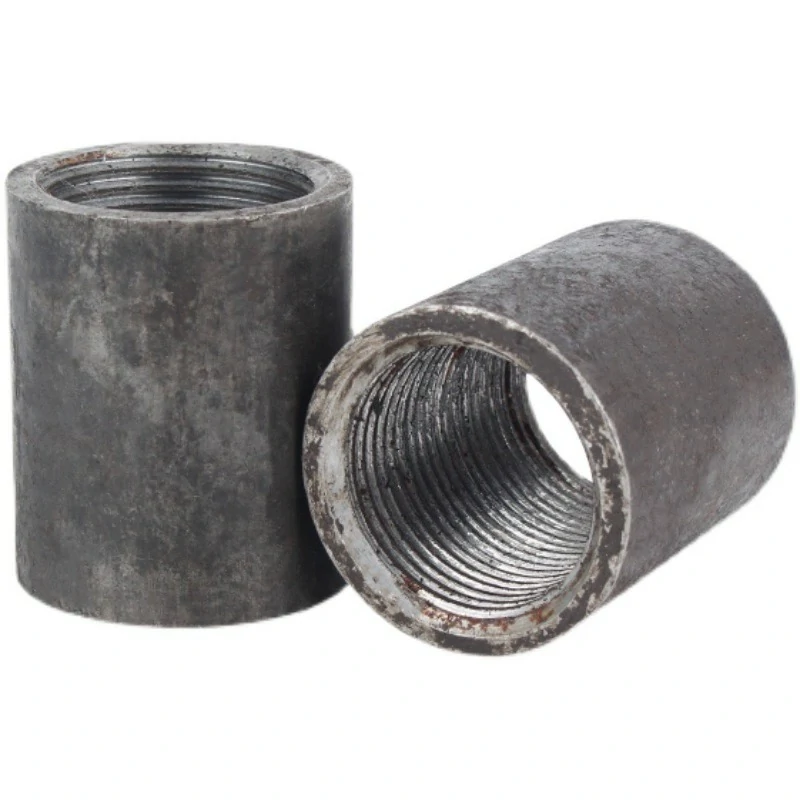
Nipples are typically installed in a piping system using threaded connections. The installation process requires a few essential tools and techniques to create secure and leak-free connections.
Here’s how nipples are commonly installed:
Tools and Materials:
- Nipple(s)
- Pipe wrench or pipe vise
- Pipe thread sealant or Teflon tape
- Thread chaser or die (for cleaning and re-cutting threads)
- Pipe thread compound (for sealing)
- Adjustable wrench or pliers
- Pipe cutter or hacksaw (if resizing or cutting nipples)
- Lubricant or anti-seize compound (optional)
Installation Steps:
- Prepare the Pipe Ends:
- Ensure that the pipe ends are cut cleanly and are free of burrs, debris, and any irregularities. Smooth and deburr the ends as needed.
- Select the Right Size Nipple:
- Choose the appropriate size and material of the nipple for your application, ensuring it matches the size and material of the existing pipes.
- Thread the Nipple:
- If the nipple is not pre-threaded, thread it using a pipe threader or a die set. Properly cut threads are essential for a secure connection.
- Apply Thread Sealant or Teflon Tape:
- Apply pipe thread sealant or wrap Teflon tape around the male threads of the nipple. This sealant helps create a leak-free seal and also makes it easier to tighten the connection.
- Position the Nipple:
- Thread one end of the nipple into one of the pipes, turning it by hand until snug.
- Secure with a Pipe Wrench:
- Using a pipe wrench or pipe vise, grip the nipple and the pipe it is threaded into. Turn the nipple clockwise to tighten it. Use another wrench to grip the second pipe (if applicable) to prevent it from turning. Continue tightening until the connection is secure. Be cautious not to overtighten, which can damage the threads or the fitting.
- Check Alignment: Ensure that the pipes are properly aligned, and the nipple is centered within the joint.
- Inspect for Leaks: After installation, conduct a leak test to ensure that the connection is watertight. You can pressurize the system and inspect for any signs of leakage.
- Final Tightening: Once you confirm that there are no leaks, you can do a final tightening to secure the connection. Be sure to follow the manufacturer’s recommended torque values for the specific nipple size and material.
- Complete the Installation: Once the nipple is properly installed, the piping system can be put into service.
Nipples can also be used to extend or connect various pipe fittings, such as couplings, elbows, or tees. The same principles of threading and sealing apply when using nipples in such connections.
It’s important to follow safety protocols during installation to prevent accidents or injuries. Additionally, make sure to choose the right material and size for your specific application, and adhere to any relevant industry or regulatory standards. Properly installed nipples ensure the integrity of the piping system and prevent leaks.
What safety precautions should be followed when handling, installing, or maintaining nipples in pipe fittings, especially in pressurized systems?
Handling, installing, and maintaining nipples in pipe fittings, especially in pressurized systems, requires strict adherence to safety precautions to prevent accidents, injuries, and system failures.
Here are some important safety measures to follow:
1. Personal Protective Equipment (PPE):
- Wear appropriate PPE, including safety glasses, gloves, and steel-toed shoes, to protect against potential eye injuries, cuts, and crush hazards.
2. Tool Safety:
- Ensure that all hand and power tools used in the installation process are in good working condition. Regularly inspect and maintain tools to prevent accidents caused by tool failures.
3. Proper Training:
- Only trained and qualified personnel should handle, install, or maintain nipples and piping systems. Ensure that workers are knowledgeable about safe practices and familiar with the specific tools and equipment used.
4. Secure Work Area:
- Maintain a clean and well-organized work area, free of clutter and debris. This reduces the risk of trips, falls, and accidents.
5. Ventilation:
- When working in confined spaces or areas with limited ventilation, ensure proper ventilation to prevent exposure to harmful fumes or gases that may be released during pipe cutting, threading, or welding.
6. Follow Manufacturer Instructions:
- Adhere to the manufacturer’s instructions and recommendations for the specific nipple and piping materials you are using. nipple in pipe fittings These instructions often include torque values for proper tightening.
7. Inspect Materials:
- Inspect nipples, pipes, and fittings for defects, cracks, or other abnormalities before installation. Reject any components that do not meet quality standards.
8. Pipe Cleaning and Deburring:
- Ensure that pipe ends are properly cleaned and deburred before installation. Sharp edges and debris can pose safety risks and affect the integrity of the connection.
9. Threaded Connections:
- Use the correct thread type and size for threaded connections. Proper thread engagement is crucial for a secure connection.
10. Flushing and Pressure Testing:
- Prior to placing a system into service, flush and pressure test the installation to identify and address any leaks or weaknesses. Use caution when pressurizing the system, especially when working with high-pressure applications.
11. Gas Leak Detection:
- When working with gas systems, use gas leak detection solutions to confirm that connections are secure and that there are no gas leaks. Always do this in a well-ventilated area.
12. Emergency Shutdown Procedures:
- Ensure that all workers involved are aware of emergency shutdown procedures in case of accidents, such as sudden releases of pressure.
13. Fire Safety:
- Take appropriate fire safety precautions when working near flammable materials or in environments where sparks or heat may pose a fire risk.
14. Regular Maintenance:
- Implement a regular maintenance schedule for piping systems to identify and address issues early, preventing unexpected failures or leaks.
15. Proper Documentation:
- Keep accurate records of all installations and maintenance activities, including materials used, torque values, and inspections. Proper documentation can help troubleshoot issues and ensure compliance with safety standards.
16. Consult Safety Regulations:
- Familiarize yourself with local, regional, and national safety regulations and standards relevant to piping systems, and ensure compliance with these regulations.
17. Seek Professional Assistance:
- For complex or high-pressure systems, consult with professionals or experts who can provide guidance and oversight to ensure safety and compliance.
By following these safety precautions, you can minimize the risks associated with handling, installing, and maintaining nipples in pipe fittings, especially in pressurized systems, and ensure the safety of workers and the integrity of the system.